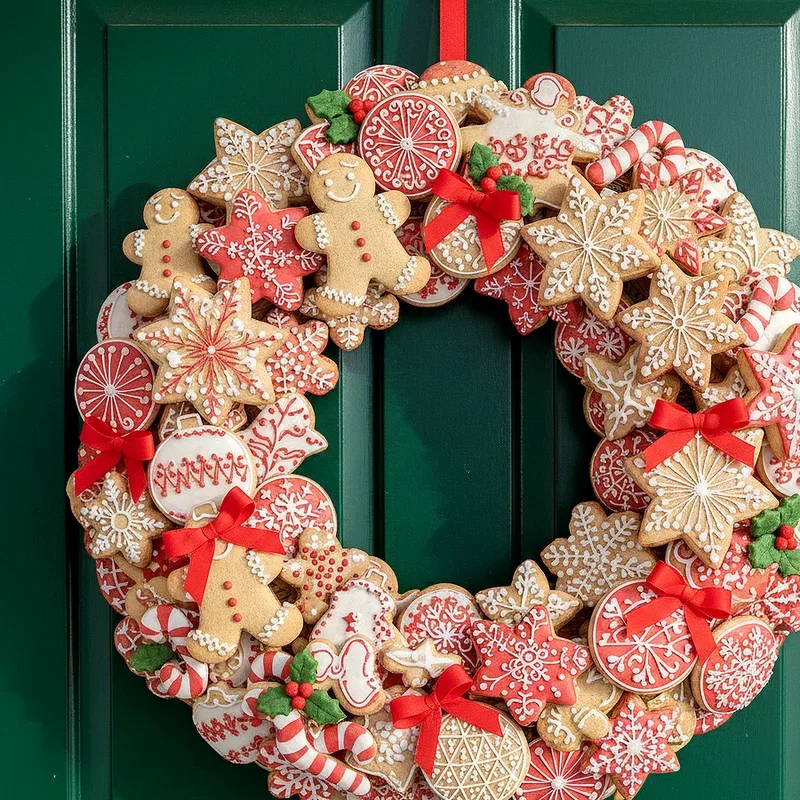
15 Christmas Cookie Decorating Ideas for Festive Treats
Discover 15 creative Christmas cookie decorating ideas to make your holiday treats sparkle. From simple designs to show-stopping creations!
Have you ever wondered why some Christmas cookies look absolutely magical while others fall flat? The secret lies in creative decorating techniques that transform ordinary baked goods into festive masterpieces. Christmas cookie decorating brings families together and creates memories that last far beyond the holiday season. Whether you're a seasoned baker or just starting your cookie decorating journey, having fresh ideas can spark your creativity and make your treats stand out at holiday gatherings. This guide walks you through fifteen delightful decorating ideas that range from beginner-friendly to impressively intricate. You'll discover techniques using royal icing, fondant, edible glitter, and everyday household items that create stunning results. Each method offers unique ways to express your holiday spirit through edible art.
1. Classic Royal Icing Piping Techniques
Royal icing remains the gold standard for cookie decorating because it dries hard and creates beautifully smooth surfaces. This versatile medium allows you to outline cookies with precision and flood interior sections with flawless finishes. Start by preparing your icing in two consistencies: a thicker version for outlining and a thinner flood consistency for filling. Use piping bags fitted with small round tips to create clean borders around your cookie shapes. Once your outline sets for about fifteen minutes, carefully fill the center with flood icing using a squeeze bottle or another piping bag. Pop any air bubbles with a toothpick and gently shake the cookie to smooth the surface. Royal icing accepts food coloring beautifully, letting you create any color palette your holiday heart desires.
2. Marbled Icing Effects for Elegant Designs
Marbling creates sophisticated patterns that look incredibly complex but require surprisingly simple techniques. This method works wonderfully when you want elegant cookies without spending hours on intricate details. Begin by flooding your cookie with a base color of royal icing, then immediately add dots or lines of contrasting colors across the wet surface. Quickly drag a toothpick or scribe tool through the colors in swirling motions to create beautiful marbled patterns. The key to success lies in working while both colors remain wet so they blend seamlessly together. Experiment with different color combinations like red and white for candy cane effects or gold and white for luxurious holiday elegance. Each cookie becomes a unique work of art with this unpredictable yet stunning technique.
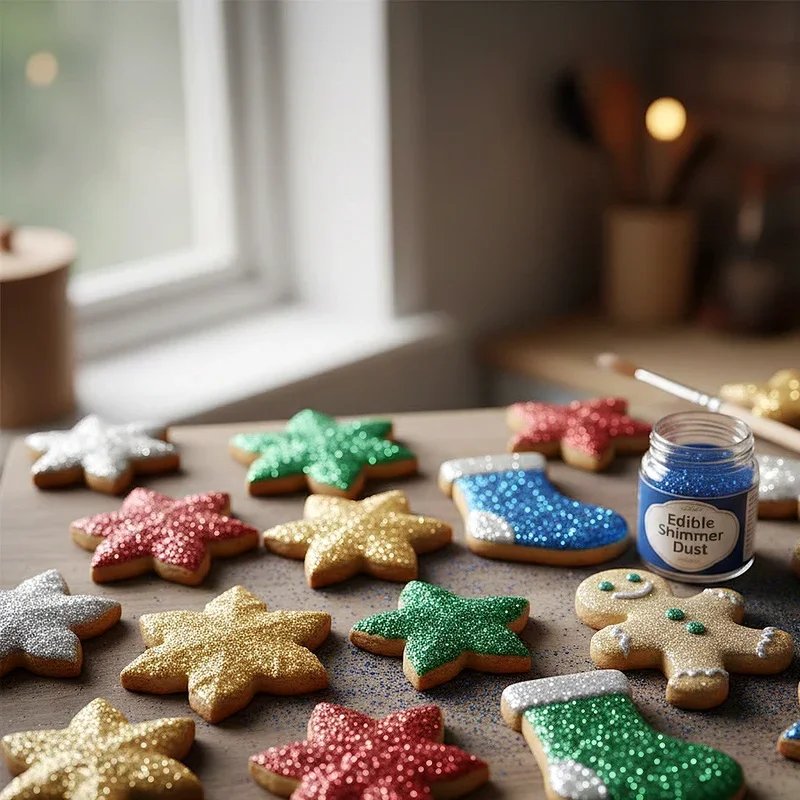
3. Edible Glitter and Shimmer Dust Applications
Nothing captures holiday magic quite like cookies that sparkle and shine under twinkling Christmas lights. Edible glitter and shimmer dust add that extra touch of festivity that makes your treats truly special. Apply these sparkly decorations while your royal icing or glaze remains slightly wet so the particles adhere properly. You can sprinkle glitter over entire cookies for full coverage or use small brushes to apply shimmer dust to specific areas for targeted sparkle. Gold and silver create classic holiday elegance, while red and green glitters scream Christmas cheer. Consider using disco dust for maximum shine or sanding sugars for a more subtle sparkle effect. These decorations catch light beautifully and photograph wonderfully for social media sharing.
4. Fondant Cut-Outs and Embellishments
Fondant offers dimensional decorating possibilities that flat icing simply cannot achieve on Christmas cookies. This pliable sugar paste can be rolled thin and cut into shapes using cookie cutters or specialty fondant cutters. Create holly leaves, snowflakes, presents, or any festive shape your imagination conjures up. Attach fondant pieces to your cookies using a small amount of water or edible glue as adhesive. Layer different colors to create depth and visual interest in your designs. Fondant accepts food coloring and can be painted or dusted with shimmer for added effects. You can even texture fondant using impression mats or everyday items like lace doilies. This technique lets you build three-dimensional scenes right on your cookie surfaces.
5. Chocolate Drizzle Patterns
Chocolate drizzling provides a quick decorating method that delivers impressive results with minimal effort required. Melt your choice of white, milk, or dark chocolate and transfer it to a piping bag or zip-top bag with a tiny corner snipped off. Hold the bag above your cookies and move your hand in zigzag patterns, letting the chocolate fall naturally into artistic lines. You can drizzle chocolate over plain cookies or layer it atop already-decorated surfaces for added dimension. Mix different chocolate types on the same cookie for contrasting colors that pop visually. Let the chocolate set completely at room temperature or speed up the process by refrigerating your cookies briefly. This technique works beautifully on sugar cookies, gingerbread, and shortbread alike.
6. Sprinkle and Nonpareil Decorating Methods
Sprinkles bring instant festivity and childhood nostalgia to any cookie decorating project you undertake. These tiny decorations come in countless colors, shapes, and sizes perfect for Christmas themes. Apply sprinkles while your icing remains wet so they stick firmly to the surface. Try creating patterns by sprinkling specific areas rather than covering entire cookies randomly. Use Christmas-themed sprinkles shaped like trees, snowflakes, or candy canes for extra holiday charm. Nonpareils create elegant dotted textures, while jimmies add fun pops of color and dimension. Consider mixing different sprinkle types together for unique custom blends. Press sprinkles gently into wet icing to ensure they stay put during transport and serving.
7. Stenciled Designs with Powdered Sugar
Stenciling offers a sophisticated decorating approach that creates precise patterns without requiring artistic skills. This technique works exceptionally well on dark cookies like chocolate or gingerbread where white designs really stand out. Place your chosen stencil firmly against the cookie surface and dust powdered sugar over it using a small sieve or sifter. Carefully lift the stencil straight up to reveal the crisp design underneath. You can purchase holiday-themed stencils or create your own using food-safe materials. This method also works with cocoa powder on light-colored cookies for reverse effects. Stenciled cookies look professionally decorated and work wonderfully for cookie exchanges or gift giving.
8. Hand-Painted Cookie Art
Hand-painting transforms cookies into edible canvases where your artistic vision comes to life beautifully. Mix food coloring with a small amount of vodka or clear vanilla extract to create edible paint. The alcohol evaporates quickly, leaving behind vibrant colors without dissolving your icing base. Use small food-safe paintbrushes to create detailed designs, from simple holly berries to elaborate winter scenes. Start with a light sketch using a food-safe marker if you need guidance for complex designs. Layer colors to create depth and dimension in your painted elements. This technique requires patience but produces truly unique cookies that showcase your personal artistic style. Let each layer dry before adding additional details.
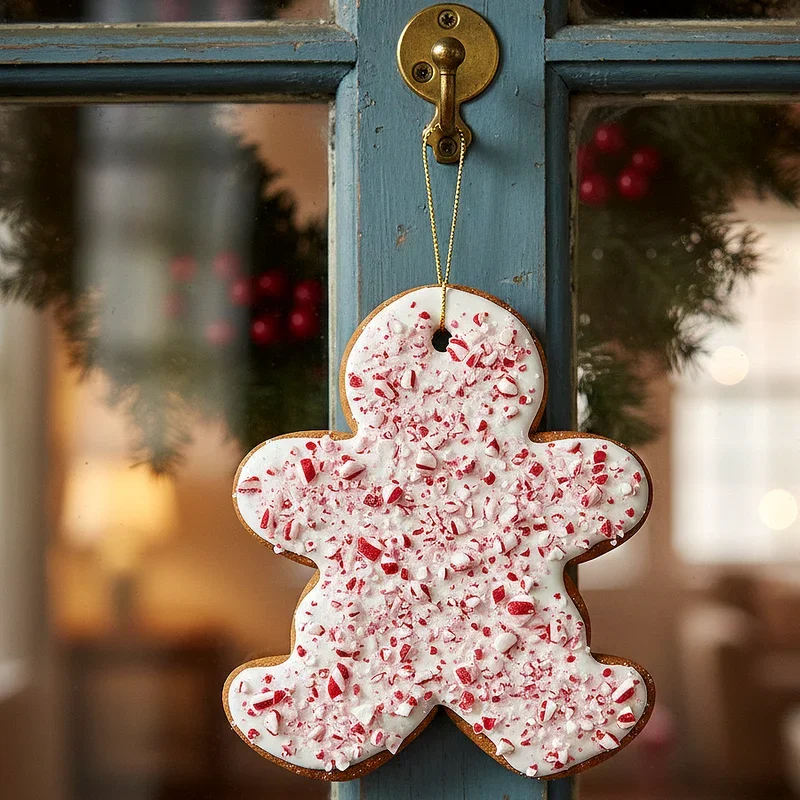
9. Crushed Candy Cane Toppings
Candy canes embody Christmas spirit and provide a festive decorating option that adds delightful peppermint flavor. Crush peppermint candies in a sealed plastic bag using a rolling pin or mallet until you achieve your desired consistency. Sprinkle the crushed pieces over wet icing, royal icing, or melted chocolate to create sparkly, flavorful decorations. The red and white pieces naturally suggest holiday themes without requiring additional decorating effort. Consider leaving some pieces larger for dramatic texture or crushing everything finely for a snow-like dusting. Crushed candy canes work particularly well on chocolate cookies where the peppermint flavor complements the rich cocoa. This edible decoration adds both visual appeal and delicious taste to your festive treats.
10. Metallic Food Paint Accents
Metallic paints elevate ordinary cookies into luxurious holiday confections worthy of elegant celebrations. Edible metallic paints come in gold, silver, bronze, and copper, adding sophisticated shimmer to your designs. Apply these paints with small brushes to highlight specific areas like cookie edges, snowflake points, or ornament tops. You can paint entire cookies in metallic hues or use them sparingly for subtle elegant accents. Mix metallic paints with luster dust for even more dramatic shine and dimensional effects. These paints work best on completely dry royal icing or fondant surfaces. Consider combining metallic accents with other decorating techniques for truly show-stopping results. The reflective quality photographs beautifully and catches candlelight during holiday gatherings.
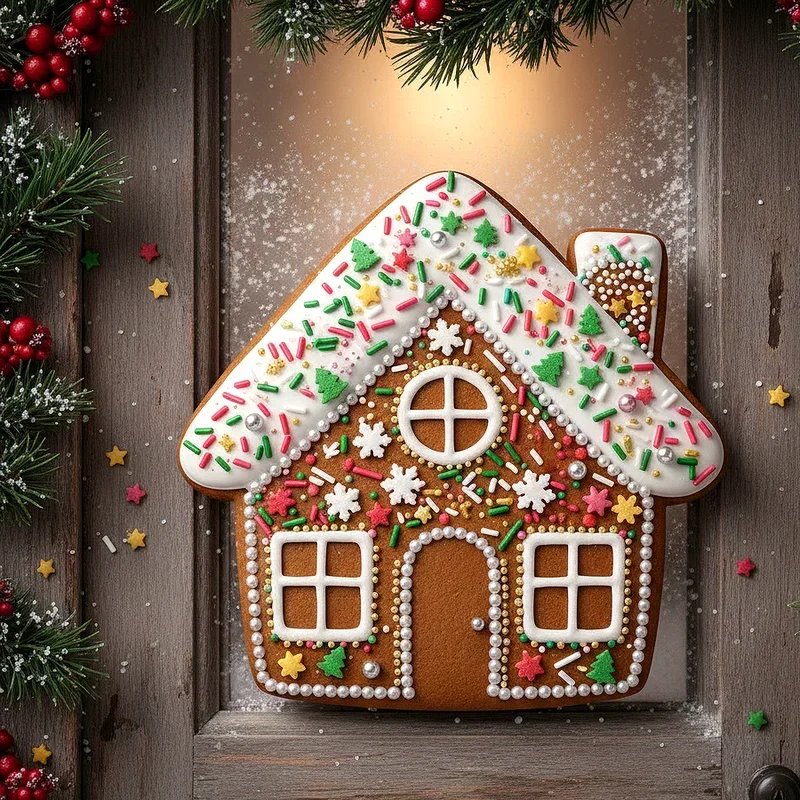
11. 3D Cookie Stacking Creations
Stacked cookies create impressive three-dimensional displays that serve as both dessert and centerpiece simultaneously. Build Christmas trees by stacking progressively smaller star-shaped cookies with icing between each layer. Create snowmen by connecting round cookies vertically with thick royal icing acting as structural glue. Construct gingerbread houses using flat cookie pieces assembled into architectural forms. The key to successful stacking lies in using royal icing with proper consistency that dries hard and holds weight. Allow each layer to set completely before adding the next level to prevent structural collapse. These creations work wonderfully as table decorations that guests can eventually eat and enjoy. Consider making multiple smaller stacked designs rather than one massive structure for easier serving.
12. Ombre Gradient Icing Techniques
Ombre effects create stunning visual transitions from light to dark that add modern sophistication to traditional cookies. This technique requires preparing multiple shades of the same color in gradually deepening intensities. Start by icing your cookie with the lightest shade, then immediately pipe lines of progressively darker shades across the wet surface. Use a small spatula or offset knife to blend where the colors meet, creating seamless gradual transitions. Work quickly before the icing begins to set and loses its blendability. Popular Christmas ombre combinations include white to red, light blue to dark blue, or pale pink to deep burgundy. This contemporary decorating style makes your cookies stand out from traditional holiday designs.
13. Stamped and Textured Cookie Surfaces
Texture adds visual interest and tactile appeal to cookies before you even add any colored decorations. Press stamps, impression mats, or textured objects into rolled cookie dough before baking to create raised patterns. Holiday-themed stamps featuring snowflakes, reindeer, or Christmas greetings work particularly well for seasonal cookies. You can leave these impressions plain for rustic charm or highlight the raised areas with contrasting icing or edible dust. Consider using everyday items like lace, burlap, or even clean pine cones to create unique texture patterns. The shadows created by textured surfaces photograph beautifully and add professional polish to your cookies. Dust textured cookies with powdered sugar to emphasize the dimensional patterns even further.
14. Edible Marker Details and Personalization
Edible markers provide precision and control for adding fine details that other decorating methods cannot easily achieve. These food-safe pens work directly on dried royal icing or fondant surfaces like regular markers on paper. Draw intricate patterns, write personalized messages, or add facial features to character cookies with steady hand control. Edible markers come in various colors and tip sizes for different decorating needs and artistic effects. This technique works perfectly for adding final touches to already-decorated cookies or creating entire designs from scratch. Children particularly enjoy using markers for cookie decorating since the method feels familiar and less messy. Personalized cookies with names or special messages make thoughtful gifts for teachers, neighbors, and loved ones.

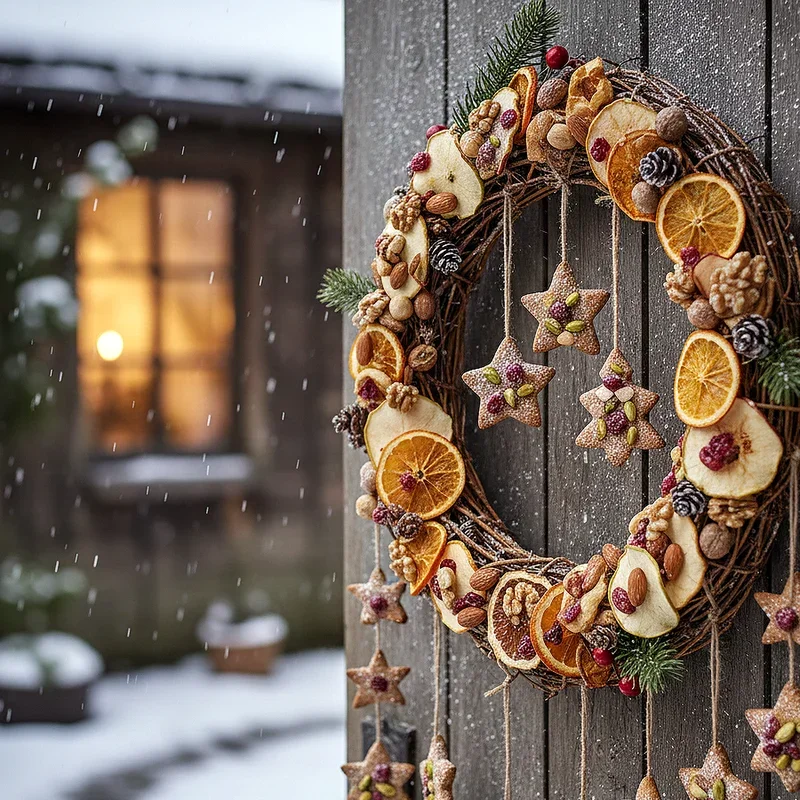
15. Natural Decorations with Dried Fruits and Nuts
Natural decorations bring organic beauty and additional flavors to your Christmas cookie creations this holiday season. Press sliced almonds into wet icing to create angel wings, flower petals, or decorative borders with elegant results. Arrange dried cranberries to suggest holly berries or create festive patterns that pop against neutral backgrounds. Use candied orange peel slices for sophisticated garnishes that add citrus notes to your cookies. Pistachios, walnuts, and pecans provide both decoration and delicious texture when pressed into soft dough before baking. These natural elements appeal to guests seeking less processed decorating options while maintaining festive visual appeal. Combine nuts and dried fruits with traditional decorating methods for cookies that taste as incredible as they look.
Conclusion
Christmas cookie decorating transforms simple baked goods into memorable festive creations that delight everyone who sees them. These fifteen techniques offer options for every skill level, from beginner-friendly sprinkles to advanced hand-painting methods. The beauty of cookie decorating lies in its flexibility—you can combine multiple techniques on single cookies or keep designs beautifully simple. Remember that practice improves your skills, so don't worry if your first attempts look imperfect. The most important ingredient in any decorated cookie is the love and creativity you pour into making it. Gather your decorating supplies, invite family members to join the fun, and create delicious memories this holiday season.
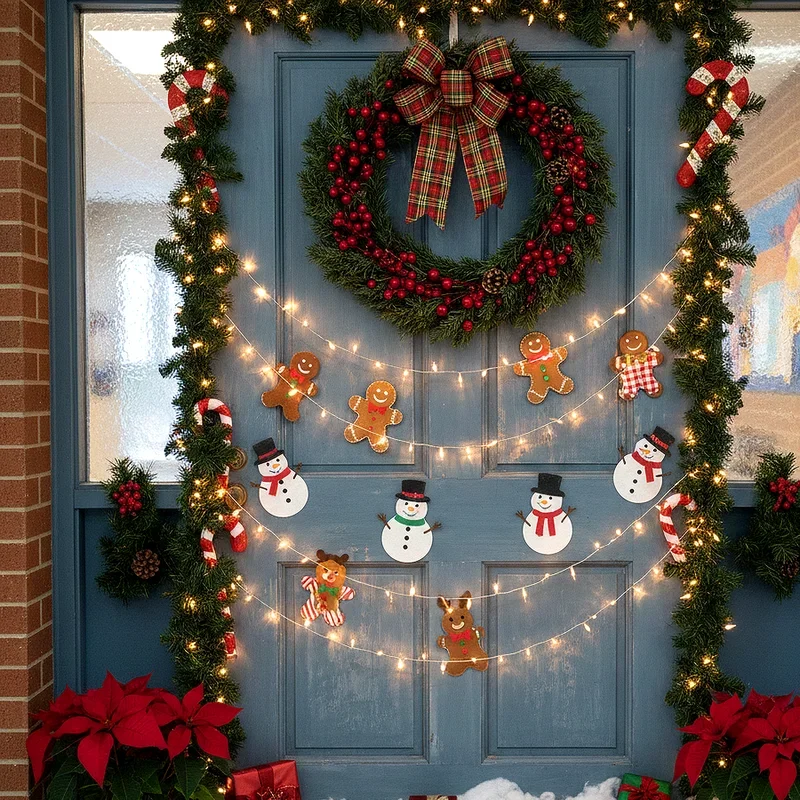
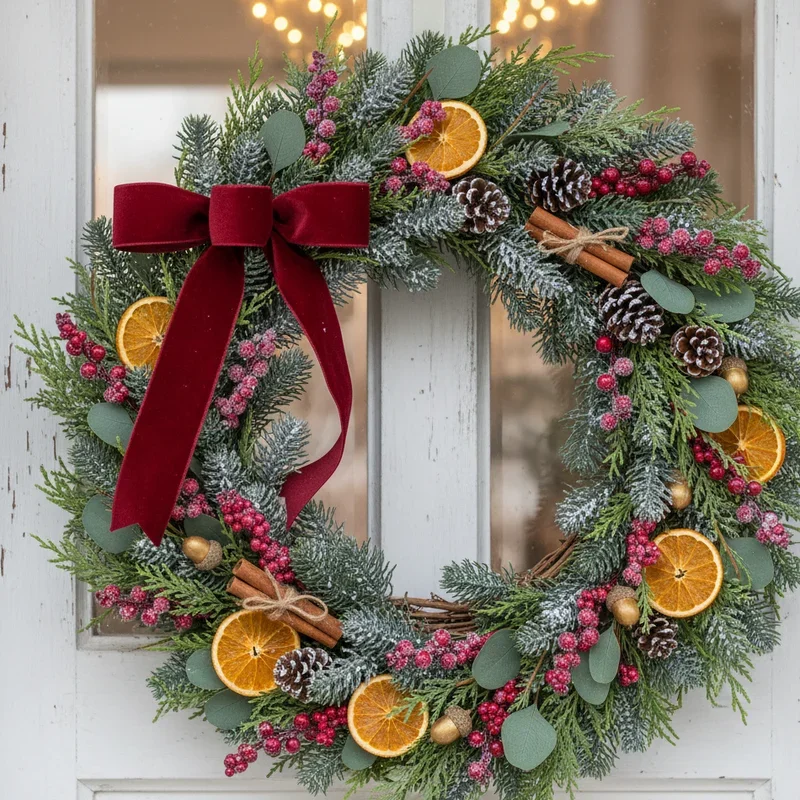
Read next: 15 Christmas Wreath Ideas for Festive Front Door Decor
Frequently Asked Questions
Q1. How long does royal icing take to dry completely on decorated cookies?
A: Royal icing typically dries within six to eight hours at room temperature, though overnight drying ensures complete hardness.
Q2. Can I freeze decorated Christmas cookies for later use during the holidays?
A: Yes, freeze decorated cookies in airtight containers with parchment between layers for up to three months successfully.
Q3. What type of cookies work best for detailed decorating projects and techniques?
A: Sugar cookies hold their shape best and provide smooth surfaces ideal for detailed decorating work and intricate designs.
Q4. How can I prevent my icing colors from bleeding into each other?
A: Allow each icing section to dry completely before adding adjacent colors to prevent unwanted bleeding and color mixing.
Q5. What is the best way to store decorated cookies to maintain freshness?
A: Store decorated cookies in single layers with parchment paper between them in airtight containers at room temperature.
Stay up to date with our latest ideas!