How to Make a Christmas Bow: Quick and Easy Guide
Learn how to make stunning Christmas bows in minutes! Master classic loops, elegant ribbons, and festive decorations for gifts and wreaths this holiday.

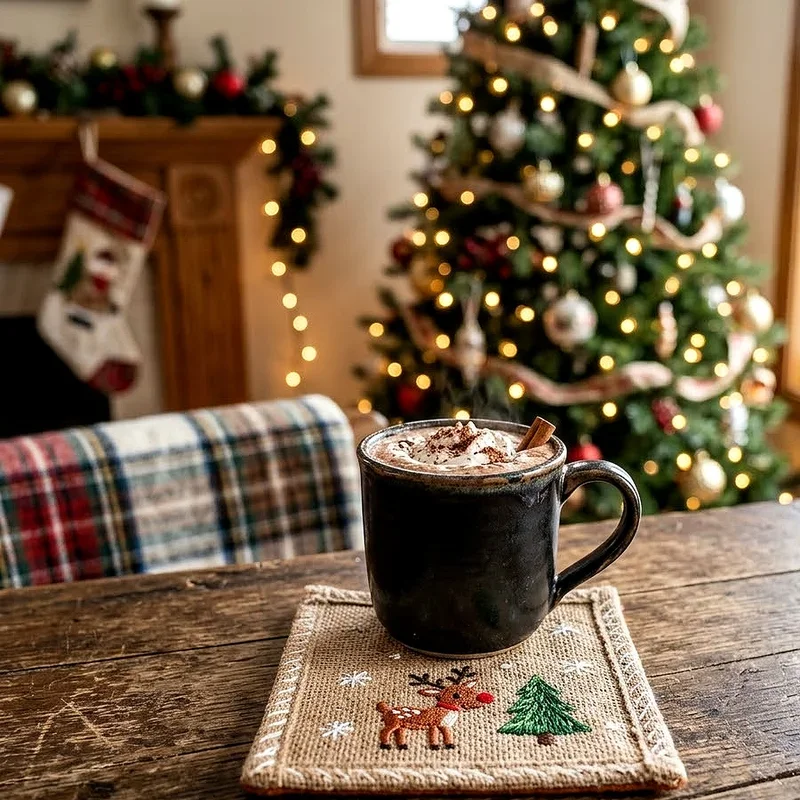
Well, here's the thing about Christmas decorating – it's never quite complete without those perfect, fluffy bows adorning your presents, wreaths, and garlands. You know what I mean, right? Those gorgeous ribbon creations that make everything look like it came straight from a high-end boutique. But here's the kicker: most folks think bow-making is some kind of complicated craft that requires years of practice. Honestly, that couldn't be further from the truth! Making beautiful Christmas bows is actually super easy once you get the hang of it. Whether you're wrapping gifts for your loved ones, sprucing up your front door wreath, or adding that special touch to your holiday decor, mastering the art of bow-making will seriously level up your Christmas game. I
Essential Materials You'll Need
Before we jump into the actual bow-making process, let's talk about what you'll need to have on hand. Getting your supplies ready beforehand makes the whole process smoother, and you won't have to pause mid-creation to hunt for scissors or wire. First off, you'll need ribbon – and lots of it! Wire-edged ribbon is your best friend here because it holds its shape beautifully and stays put once you've arranged it. For a standard-sized bow, you'll typically need about 3 to 5 yards of ribbon, depending on how full you want it to look. Next up, grab some floral wire or twist ties for securing your bow in the center. Sharp scissors are absolutely essential because nothing's more frustrating than trying to cut ribbon with dull blades. Some folks also like having a hot glue gun handy for attaching bows to wreaths or other decorations. If you're planning to make multiple bows, consider getting ribbon in various widths, patterns, and textures. Mixing different ribbon types creates depth and visual interest that really makes your bows pop.
The Classic Loop Method for Perfect Bows
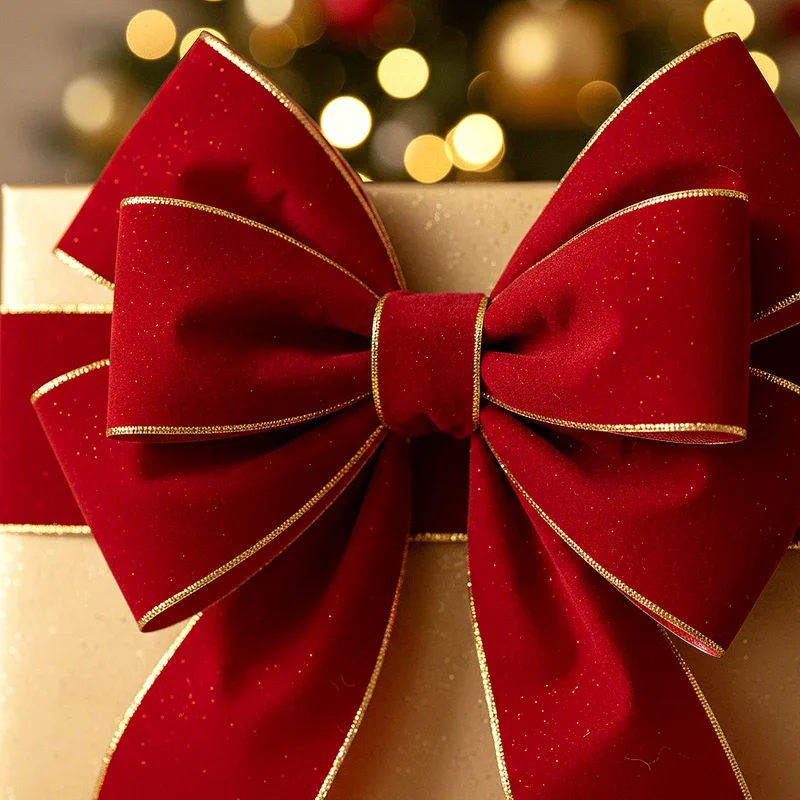
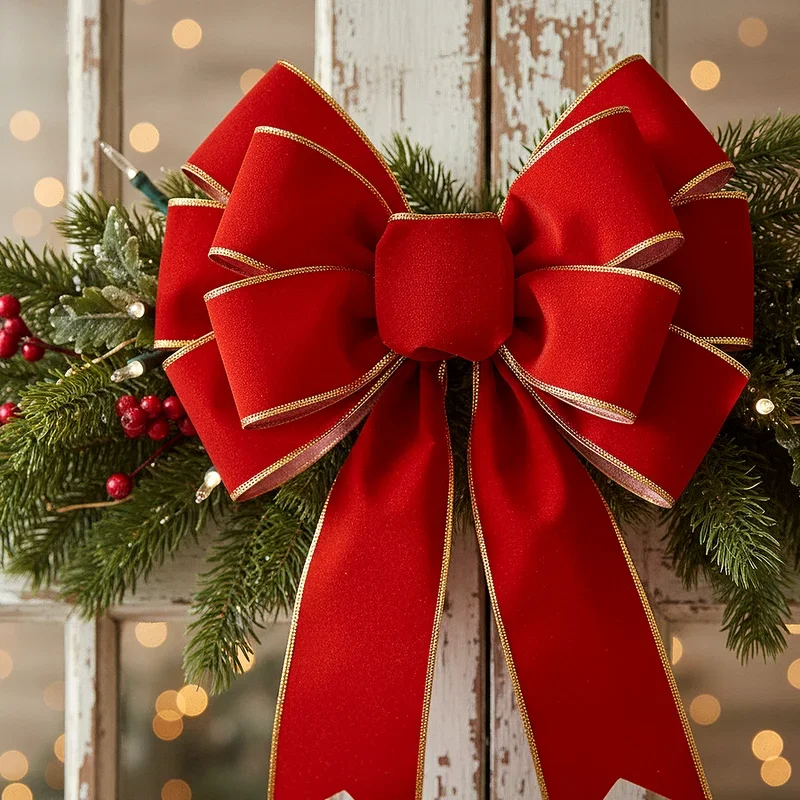
Alright, let's get down to business with the most popular technique out there. The classic loop method is what most professional decorators use, and once you've got it down, you can make a bow in just a few minutes. Start by leaving about 8 to 10 inches of ribbon as a tail – this'll hang down from your finished bow. Now, create your first loop by folding the ribbon back on itself, making it about 4 to 6 inches long. Hold this loop tightly between your thumb and forefinger at the center point. Here comes the fun part: twist the ribbon a quarter turn so the right side faces outward again, then create another loop on the opposite side that matches your first one. Keep alternating sides, twisting after each loop, and building layers as you go. Most bows look best with about 6 to 8 loops total, but you can add more or fewer depending on your preference. The key here is keeping your center pinch point tight throughout the entire process – if you let go, everything falls apart! Once you've made all your loops, secure the center tightly with floral wire, wrapping it several times and twisting it at the back. Finally, fluff out those loops, adjusting them so they're evenly spaced and full. Voila! You've just created a stunning Christmas bow.
The Simple Two Loop Method for Beginners
If the classic loop method feels overwhelming at first, don't worry! There's an even simpler approach that still creates gorgeous results. This two-loop method is perfect for absolute beginners or when you're in a rush. Start with a piece of ribbon about 2 to 3 yards long. Make a loop on one side, roughly 6 inches long, then another matching loop on the opposite side. Hold both loops at the center, making sure they're even and symmetrical. Take a separate small piece of ribbon or wire and wrap it tightly around the center where you're holding everything together. Tie or twist it securely at the back. Now here's the magic part: take the remaining long tails and create additional loops if you want more fullness, or just leave them hanging as streamers. This method is incredibly forgiving because you can adjust everything as you go. If one loop looks smaller than the other, just pull more ribbon through until they match. The beauty of this technique is that it's nearly impossible to mess up! You can also use this method with multiple ribbons at once – just stack two or three different ribbons together and create the loops simultaneously for a layered, multi-textured look.
Creating Elegant Tails and Finishing Touches
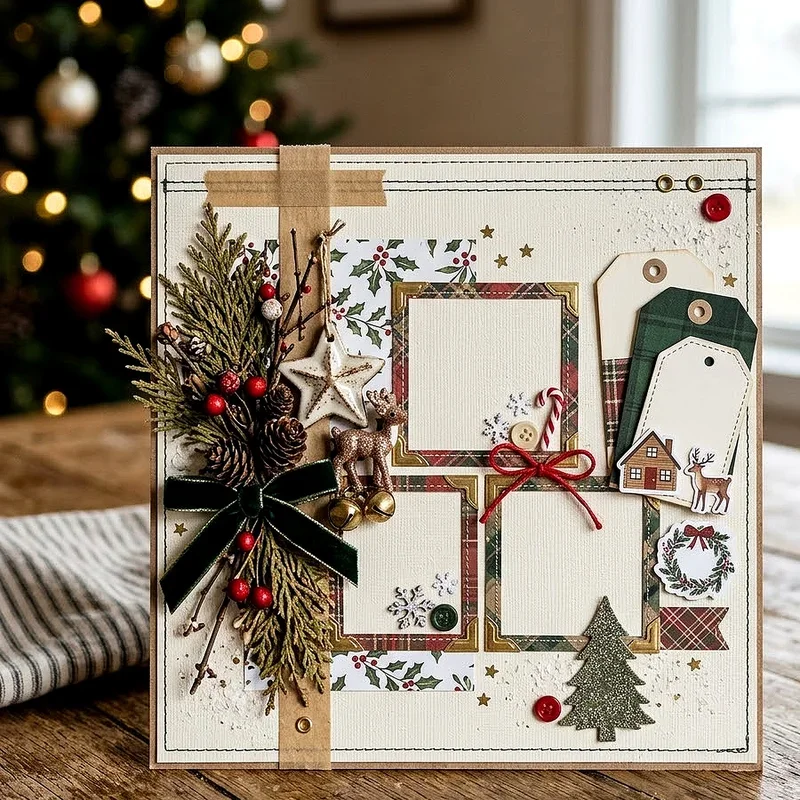
So you've made your bow loops, but what about those tails hanging down? They're actually super important for the overall look! Professional-looking tails can transform a basic bow into something truly spectacular. The most common finishing technique is cutting the ribbon ends at an angle or creating that classic V-notch. To make the V-notch, fold the ribbon tail in half lengthwise, then cut at a diagonal angle from the outside edge toward the fold. When you unfold it, you'll have that perfect V-shape. Some folks prefer cutting straight angles instead, which also looks sharp and clean. Another option is the fishtail cut, where you make two diagonal cuts from opposite corners, meeting in a point at the center. Honestly, there's no wrong way to do this – it's all about personal preference! Beyond tail cuts, consider adding extra embellishments to make your bows even more special. Small ornaments, pine cones, or sprigs of artificial holly can be wired or glued into the bow's center for added dimension. Glitter ribbon mixed with solid colors creates wonderful contrast and catches the light beautifully.
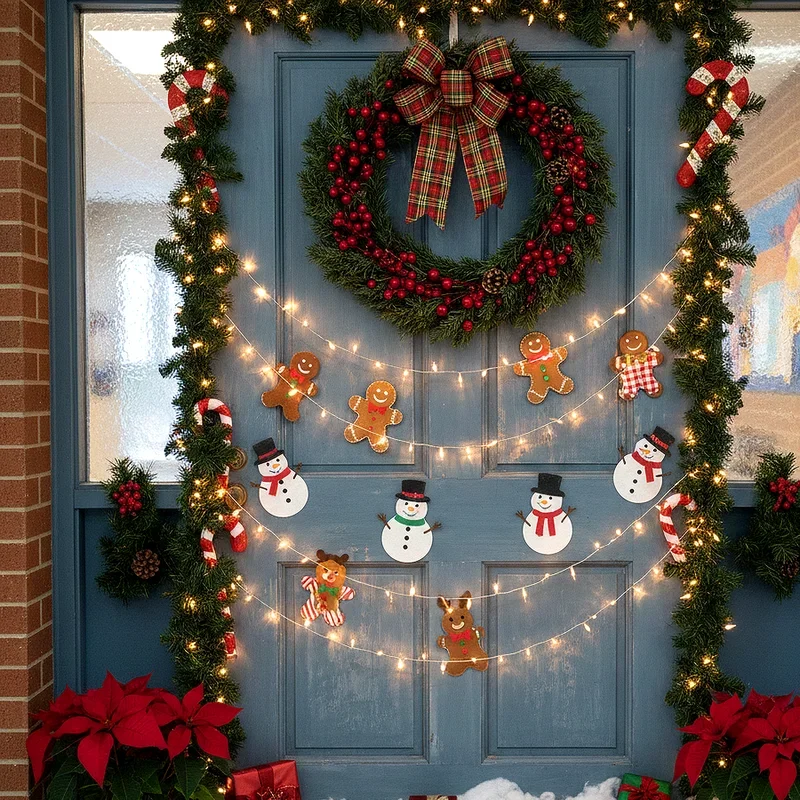
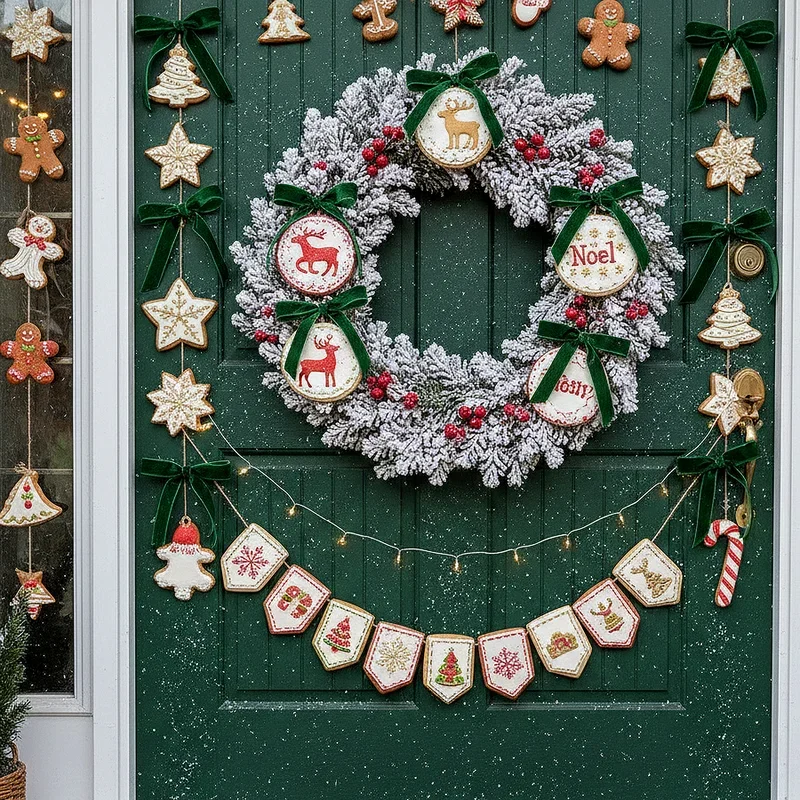
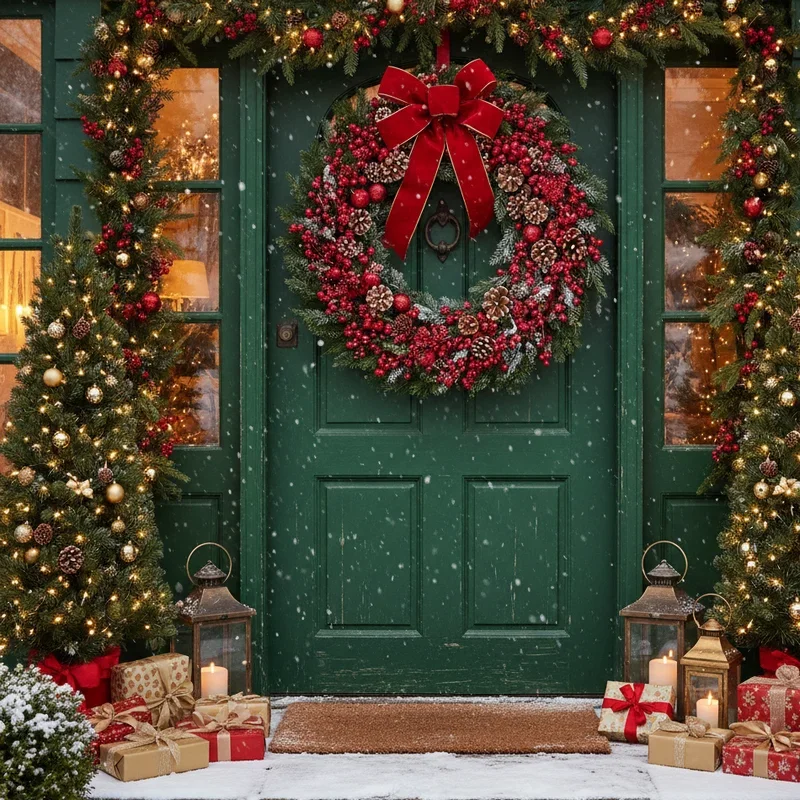
How to Make a Christmas Bow for Wreaths and Garlands
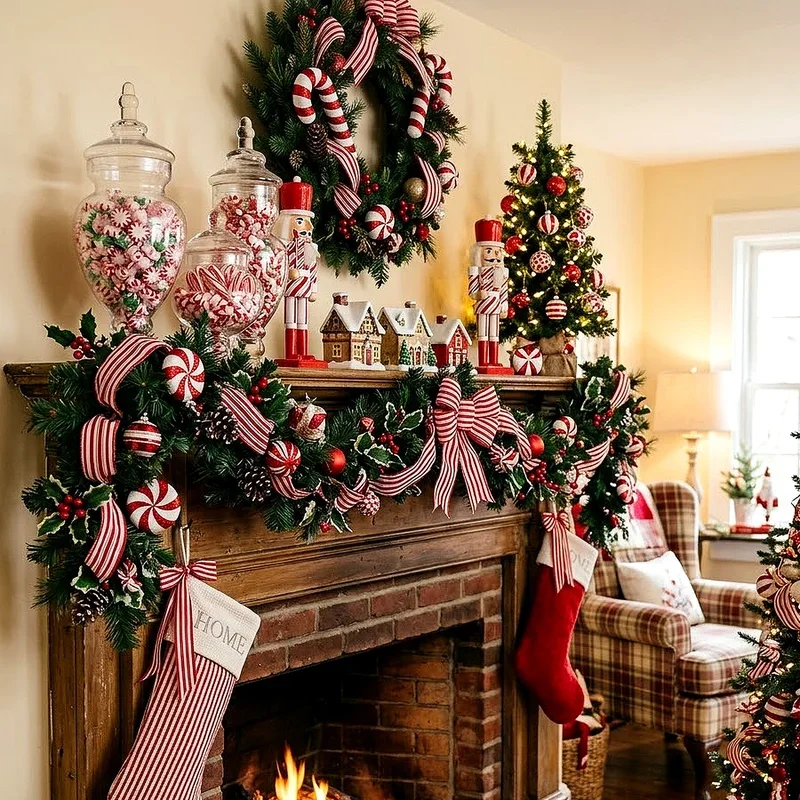
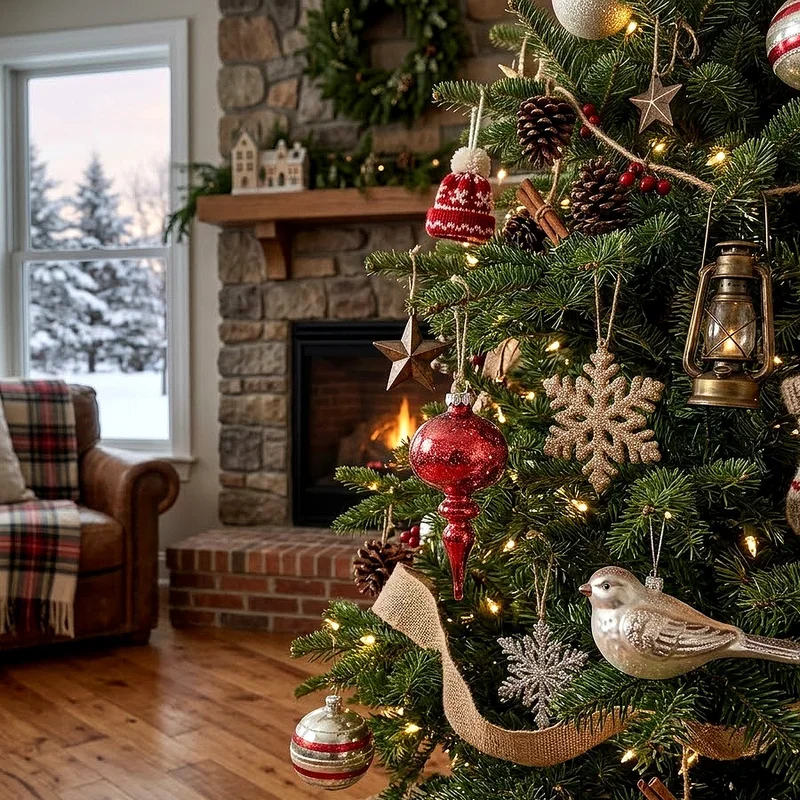
Decorating wreaths and garlands requires slightly different bow-making considerations compared to gift wrapping. These bows need to be larger, sturdier, and weather-resistant if they're going outdoors. For wreath bows, you'll typically want something with more presence – think bigger loops and longer tails that make a statement from across the room or yard. Start with weather-resistant ribbon, especially if your wreath hangs outside. Wired ribbon is crucial here because it withstands wind and maintains its shape through temperature changes. Create your bow using the classic loop method, but make each loop about 8 to 10 inches long instead of the standard 4 to 6 inches. You'll also want more loops overall – aim for 10 to 12 loops to create that full, lush appearance. When attaching the bow to your wreath, use the wire tails to secure it directly to the wreath frame, or use additional floral wire to attach it firmly. Position your bow slightly off-center rather than dead center for a more dynamic, professional look. The tails should hang down gracefully, reaching at least a third of the way down the wreath for proper proportion.

Tips for Choosing the Right Ribbon
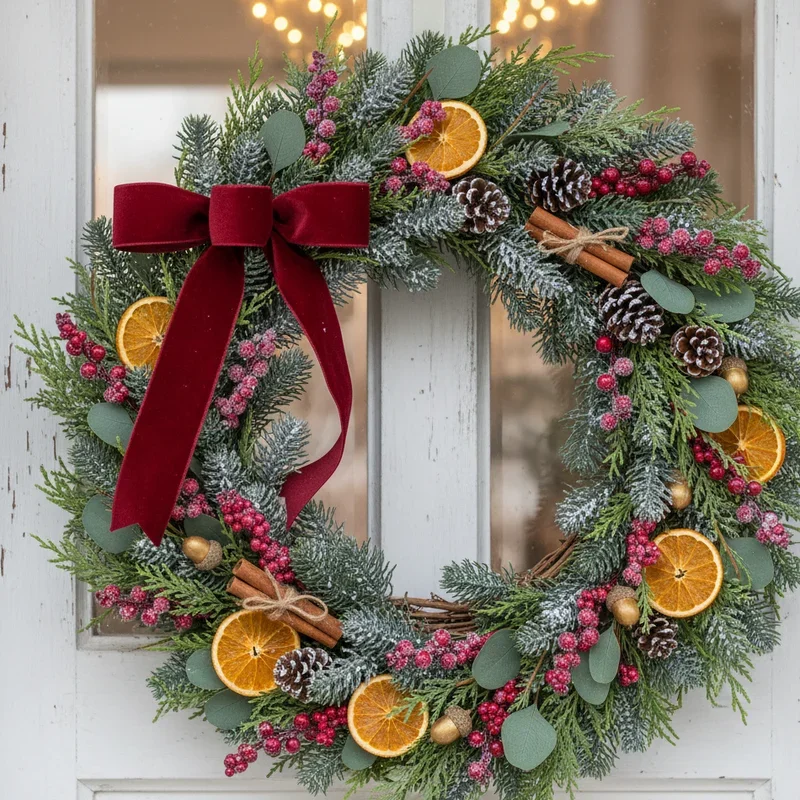
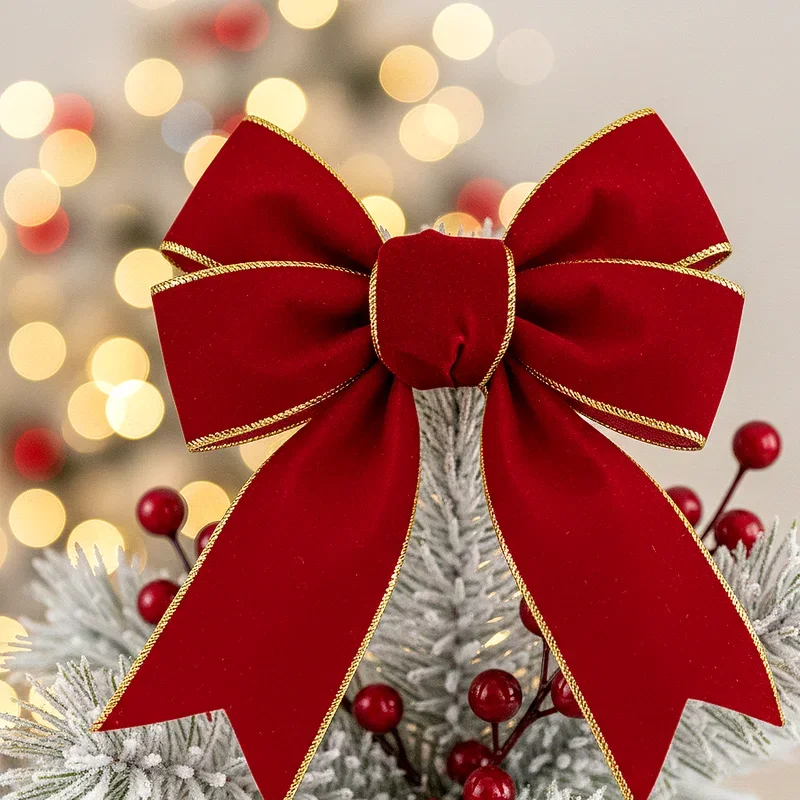
Selecting the perfect ribbon can make or break your bow-making experience, so let's chat about what works best. Wire-edged ribbon is hands down the best choice for most Christmas bows because those thin wires running along both edges help the ribbon hold whatever shape you create. Satin ribbon looks elegant and shiny, perfect for formal or sophisticated decorating schemes. Grosgrain ribbon has that lovely ribbed texture and comes in tons of patterns, making it ideal for more casual, playful designs. Burlap ribbon brings that rustic, farmhouse vibe that's super popular right now. Velvet ribbon screams luxury and looks absolutely stunning on upscale gift presentations. When it comes to width, wider ribbons around 2.5 to 4 inches work beautifully for large statement bows on wreaths and big packages. Medium-width ribbons around 1.5 to 2 inches are your go-to for standard gift bows. Narrow ribbons under an inch are perfect for small packages, ornaments, or layering with wider ribbons. Don't be afraid to mix patterns and textures together! Plaid paired with solid colors, or glitter mixed with burlap, creates eye-catching combinations that elevate your holiday decor.
Common Mistakes to Avoid When Making Bows
Even though bow-making isn't rocket science, there are definitely some pitfalls that can trip you up. Let's talk about what not to do so you can skip the frustration! The biggest mistake beginners make is not leaving their ribbon tails long enough at the start. You need those initial tails for the final bow appearance, so always err on the side of making them too long rather than too short. You can always trim them later! Another common issue is making loops that are all different sizes. Consistency is key for a polished, professional look, so try to keep each loop roughly the same length. Not twisting the ribbon between loops is another mistake that results in the wrong side of the ribbon showing, which looks sloppy and unfinished. Always do that quarter-turn twist! Forgetting to secure the center tightly enough means your bow will eventually fall apart or lose its shape. Wrap that wire multiple times and twist it really tight at the back. Using ribbon without wire edges for large bows is asking for disappointment because they'll droop and lose shape quickly. Don't rush the fluffing process – taking time to adjust and arrange each loop makes a huge difference in the final appearance.
Budget-Friendly Alternatives and Money-Saving Tips
Creating gorgeous Christmas bows doesn't have to break the bank! There are plenty of smart ways to save money while still achieving professional-looking results. Shopping at dollar stores is my number one tip for finding affordable ribbon – you'd be amazed at the selection available for just a buck or two per roll. Wait until after Christmas for clearance sales when ribbon often gets marked down 50 to 75 percent off. Stock up during these sales for the following year. Consider using fabric scraps instead of traditional ribbon. Cut fabric into strips, and if the edges fray, that actually adds charming texture to rustic-style bows. Paper ribbon is another inexpensive option that works surprisingly well for indoor decorations. Reuse bows from packages you receive throughout the year – just carefully remove them and store them for your own projects later. Make double-duty bows that serve as both package decoration and an additional gift. For example, tie kitchen towels into bow shapes or use pretty scarves as ribbon alternatives that become part of the present. Check thrift stores for vintage ribbons and trims that add unique character at fraction of retail prices.
Using Your Bows in Creative Holiday Decorating
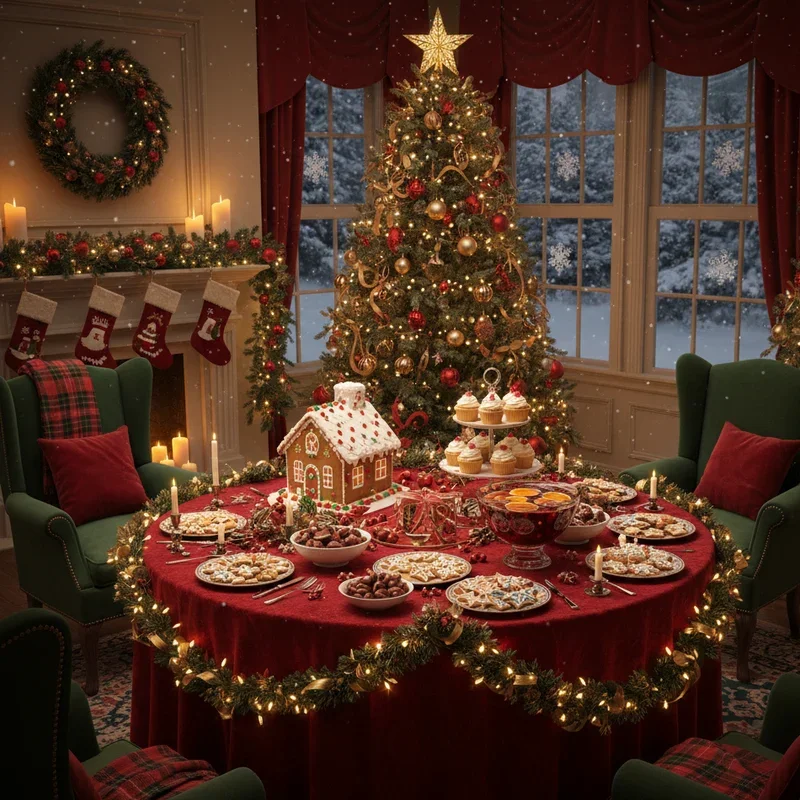
Now that you've got this bow-making thing down pat, let's explore all the creative ways to use them beyond the obvious! Sure, bows look fantastic on presents and wreaths, but there's so much more you can do. Attach bows to the backs of dining chairs for an instant festive upgrade to your Christmas dinner setting. Wire bows onto garland swoops above doorways or mantels, spacing them evenly for rhythmic visual interest. Tie bows around napkins for elegant table settings, or attach them to the stems of wine glasses for party flair. Place large statement bows at the tops of Christmas trees instead of traditional star or angel toppers. Attach bows to lamp shades, curtain tiebacks, or stair railings throughout your home. Make a bow garland by connecting multiple bows along a ribbon or string, then draping it wherever you need decoration. Use mini bows as ornament hangers or attach them directly to ornaments for extra embellishment. Attach bows to your mailbox, fence posts, or porch railings for outdoor curb appeal. The possibilities really are endless once you start thinking creatively!
Conclusion
There you have it – everything you need to know about the How to Make a Christmas Bow: Quick and Easy Guide! From simple two-loop beginners' bows to statement pieces for wreaths, you're now equipped with techniques that'll transform your holiday decorating. Remember, practice makes perfect, so don't get discouraged if your first few attempts aren't quite Pinterest-worthy. Keep at it, experiment with different ribbons and styles, and most importantly, have fun with the creative process. Your handmade bows add that personal, heartfelt touch that store-bought decorations simply can't match!
Read next: 15 Christmas Wreath Ideas for Festive Front Door Decor
Frequently Asked Questions
Q1: What type of ribbon works best for making Christmas bows?
A: Wire-edged ribbon works best because it holds shape and stays put after arranging and fluffing.
Q2: How much ribbon do I need to make a standard-sized bow?
A: You'll typically need about three to five yards of ribbon for a standard, full-looking bow.
Q3: Can I reuse Christmas bows from year to year?
A: Absolutely! Store them properly with tissue paper stuffing and they'll last for many holiday seasons.
Q4: How do I keep my bow loops from falling flat?
A: Use wire-edged ribbon and make sure to twist between each loop while keeping center tight.
Q5: What's the easiest bow-making method for complete beginners?
A: The simple two-loop method is beginner-friendly and produces great results quickly without complicated steps.
Stay up to date with our latest ideas!